NopServices Download Manager Plugin V3.5
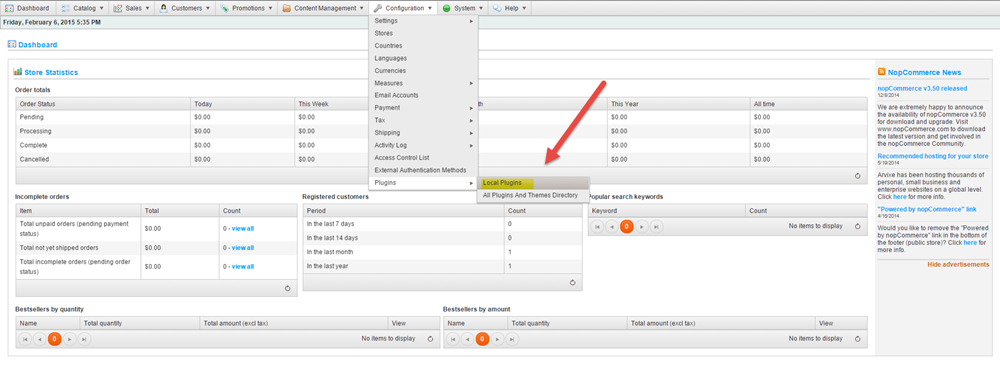
Ιnstallation – configuration of Download Manager plugin for NopCommerce 3.5

4. Scroll down until you see the DownloadManager plugin and click the Install button. The plugin will be successfully installed.

5. Then go to Content Management ->Widgets

6. Then click Edit and activate the plugin. See the pictures below.


7. You can configure the plugin by clicking on the Configure button.

8. After you click Configure you can see the following options:
• Maximum Upload File Size (MBytes) – sets the maximum size for the files that are to be uploaded.
• Widget Zone - sets the widget zone where the files associated with a product are to be shown.

9. Access the Functionalities of the Plugin. Navigate to the Plugins -> Download Manager

10. You can group files inside categories, subcategories and so on.
Let’s explore Categories. Firstly we must create a category.
See the following picture.

11. Inside the Categοry screen you can set a parent category,a category picture. The plugin is multilingual and you can set the Name, Short Description and Full Description for all the desired languages.

12. After adding several categories, the list of categories will look like the picture below:

13. Now let’s explore the Files tab.

14. Creating a File (General Tab)
- Adding general information
- Attach a File to a Category
- Add a Picture which is a default image for this file
- Select Customer Roles that will have the ability to download the File

15. Click on the Tab (Product Mapping)

16. Product Mapping
Here you can map several products into a individual file, so that the file can be shown in all these products on the public side of the website.

17. When editing a file you can view the specific product attached to the file but also you can delete a product from a file.

18. In the file list you can view some basic attributes of the files which are the following:
- The day and time a file has been modified
- The file size
- The category that belongs to
- The file's description
- The file extension that it has e.g. (.pdf, .doc, etc.)
- The number of downloads

19. You can also map the files from a product. Go to Catalog -> Products -> Manage Products

20. In the products list click on the right side to edit a product

21. Click on the tab Files on the right.

22. Click on Add A New File, a popup appears with the list of files that are currently uploaded. You can choose to attach as many as you like for the specific product.

23. If you want to change the image of any filetype (.pdf,.jpg,.png),click on the last tab (Default Images for File Extensions)

24. Here you can add file extensions and choose a specific image to be matched with it as you can see below

In this way every time you upload a file, the plugin decides which image to show on the public side of the website as you can see below

Here are some simple rules that will define the outcome of the image that will be shown beside the file in the public side of the website.
| Upload Image when adding a file | Exists a Default Image for this file extension | Outcome in public side |
| YES | YES | Image when adding the file |
| YES | NO | Image when adding the file |
| NO | YES | Default Image for this file extension |
| NO | NO | No Image will be previewed |
25. Here you can see the files that are attached to a product are seen on the public side of the website based on the Widget Zone you selected from Settings.

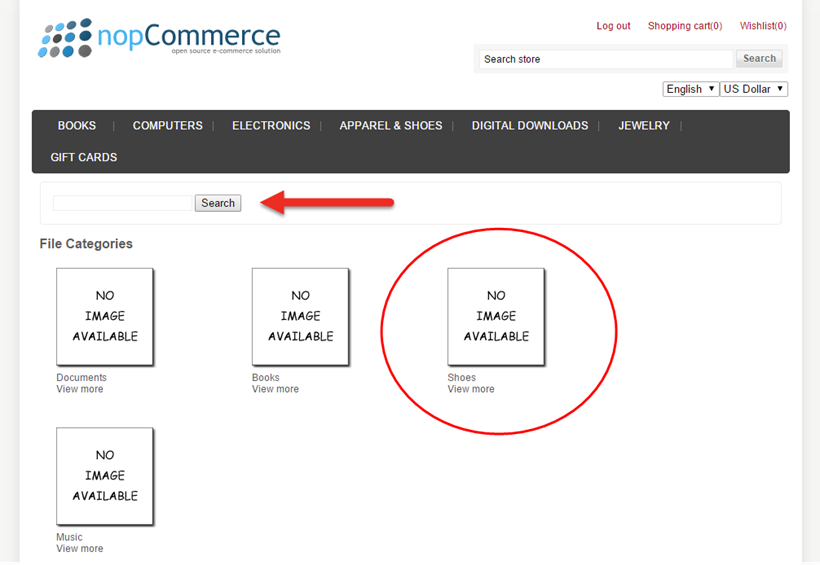
26. Another important feature of the plugin is the Category Navigation. This feature is not found in similar Download Manager plugins that exist in the marketplace. In a few words it’s a type of a Library where you can search for categories, sub-categories and for existing files in them, so it can be used for various purposes. The link can be found at www.yourshop.com/DownloadManagerPublic/CategoryNavigation/0

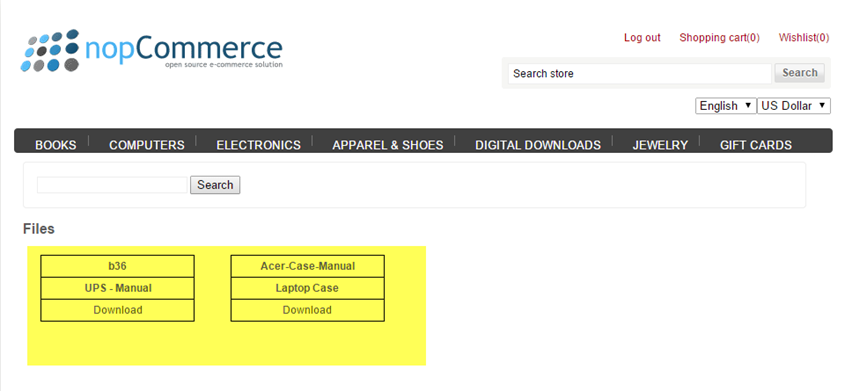
27. The following image shows the files that exist in a sub-Category.

Have any questions?
We will be more than happy to hear about your project/idea or just say hello!
Work with Us