
NopServices Menu Plugin V 3.3
Ιnstallation – Configuration of NopServices Menu Plugin for NopCommerce 3.3
1. We need to install the widget/plugin before we can use it
2. Copy the NopServices.Plugin.Menu folder into the Plugins folder of your NopCommerce installation\web site.
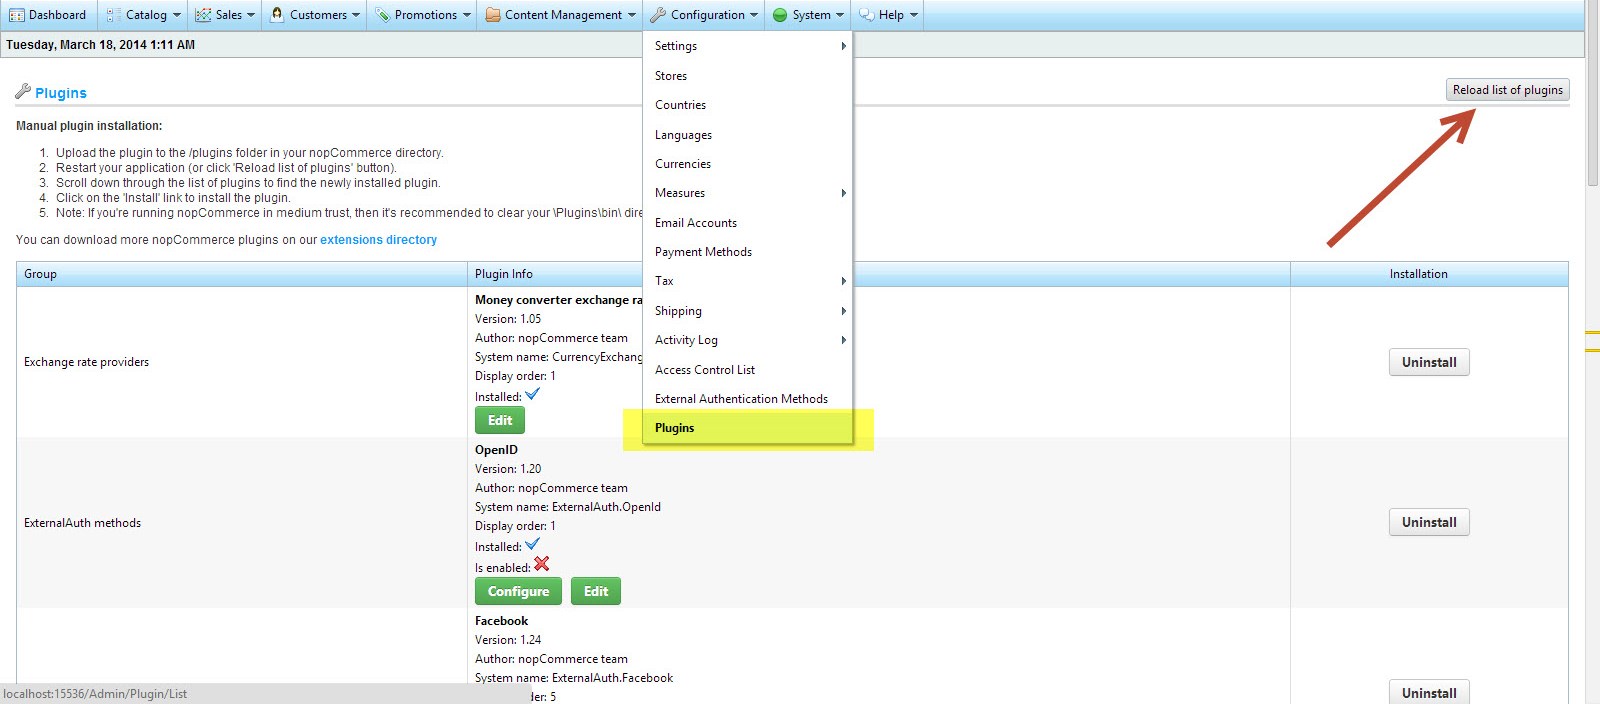
3. Log in as admin, go to the Admin panel and then Configuration -> Plugins. Then click on the “Reload list of plugins” button. Have a look at the picture below
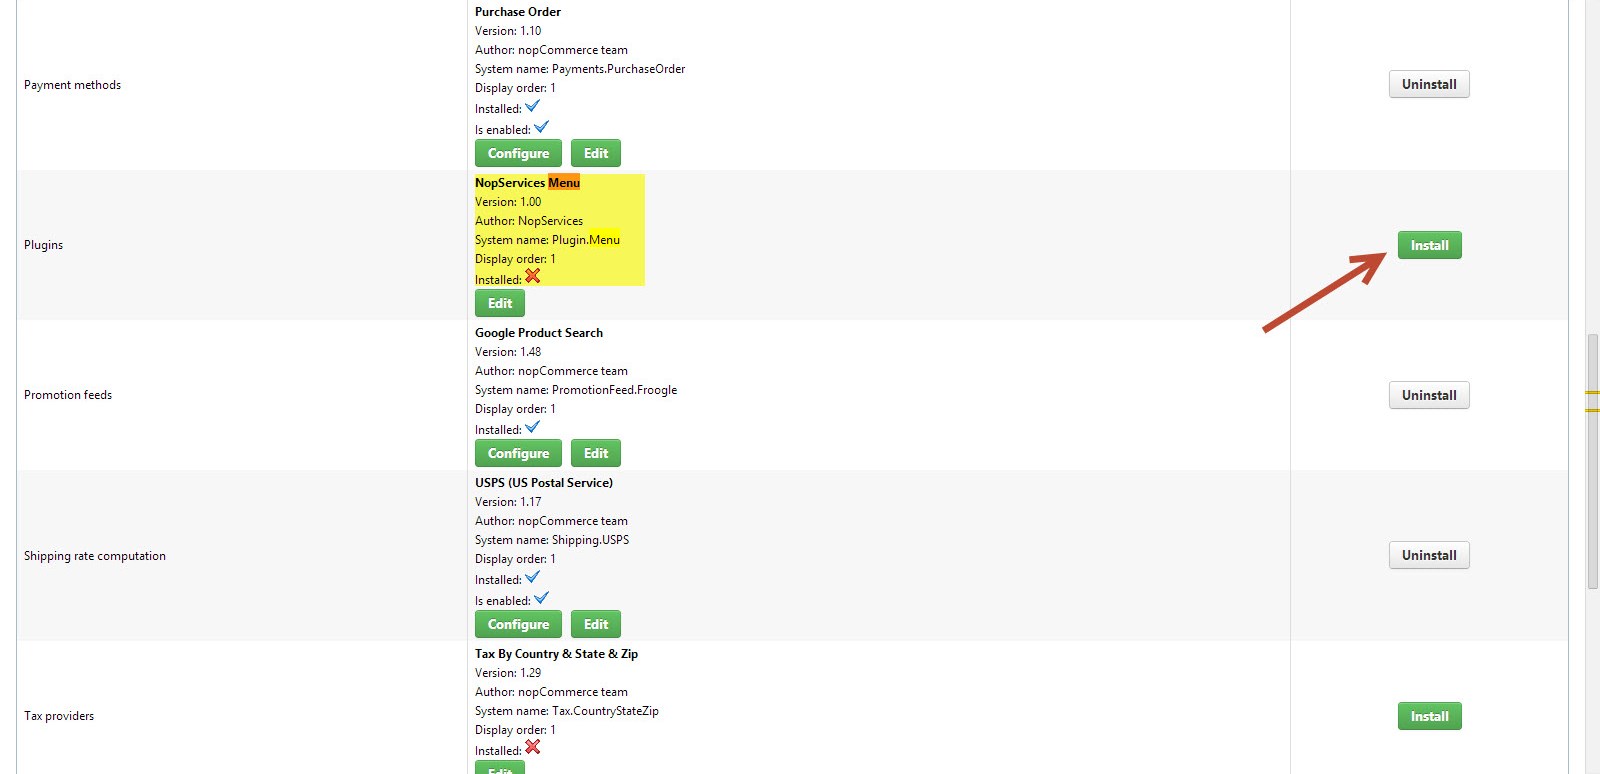
4. Scroll down until you see the Plugin.Menu plugin and click the Install button. The plugin will be successfully installed.
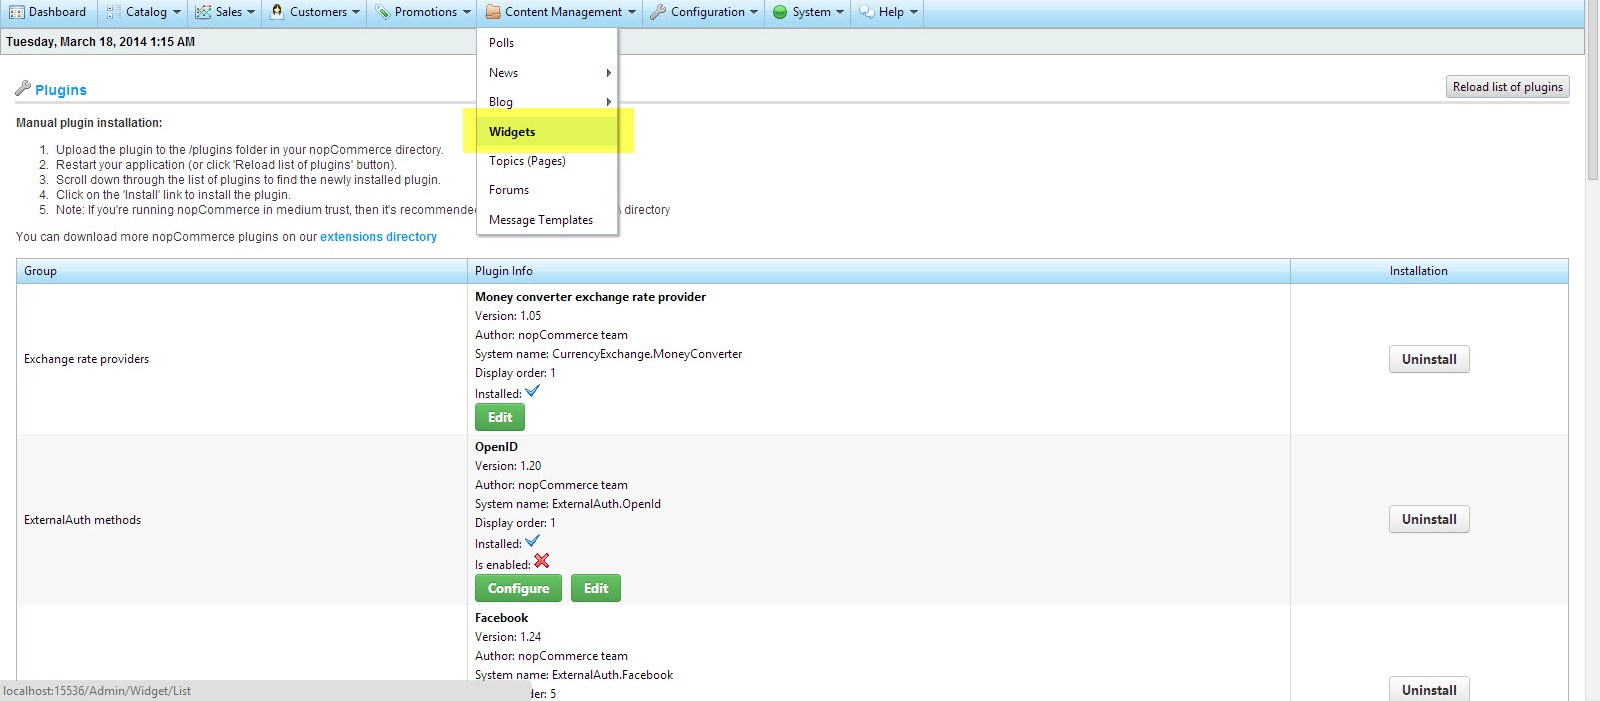
5. Then go to Content Management ->Widgets
6. Then click Edit and activate the plugin.

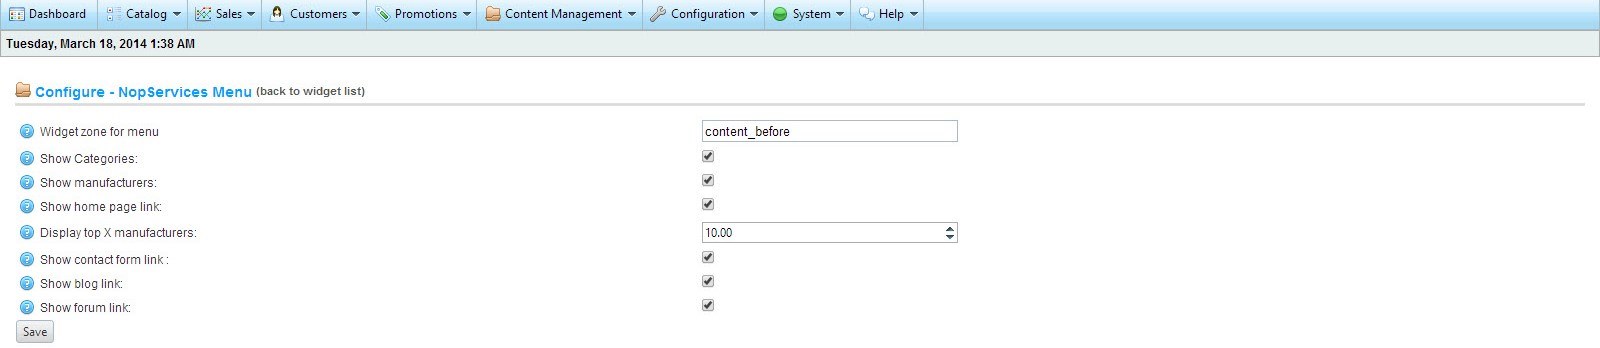
7. You can configure the plugin by clicking on the Configure button. This is the screen you will see after you do that.
You can click any or all of the options
- Show categories - show all categories in the menu if active
- Show manufacturers - show all manufacturers in the menu if active
- Show home page link - show home page link in the menu if active
- Display top X manufacturers - specify the number of manufacturers to be shown in the menu
- Show contact form link - show contact form link in the menu if active
- Show blog link - show blog link in the menu if active
- Show forum link - show forum link in the menu if active
8. If all the options are clicked (picture above) you can see how the menu looks like in the picture below

Have any questions?
We will be more than happy to hear about your project/idea or just say hello!
Work with Us
